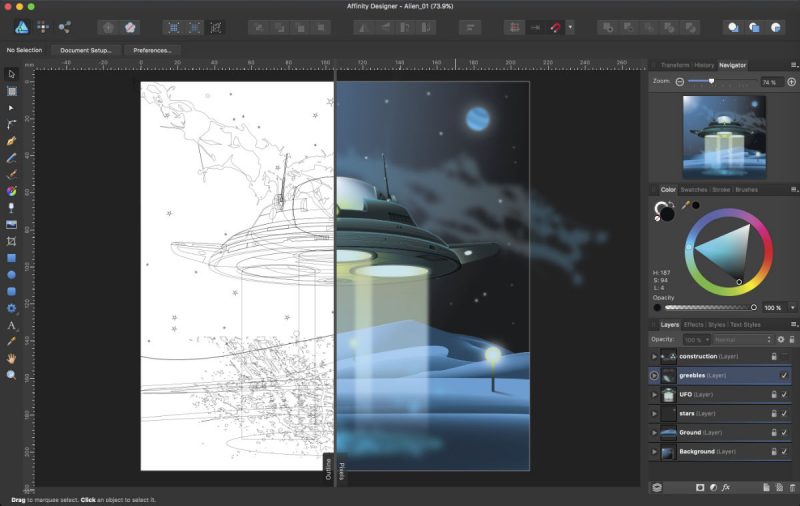
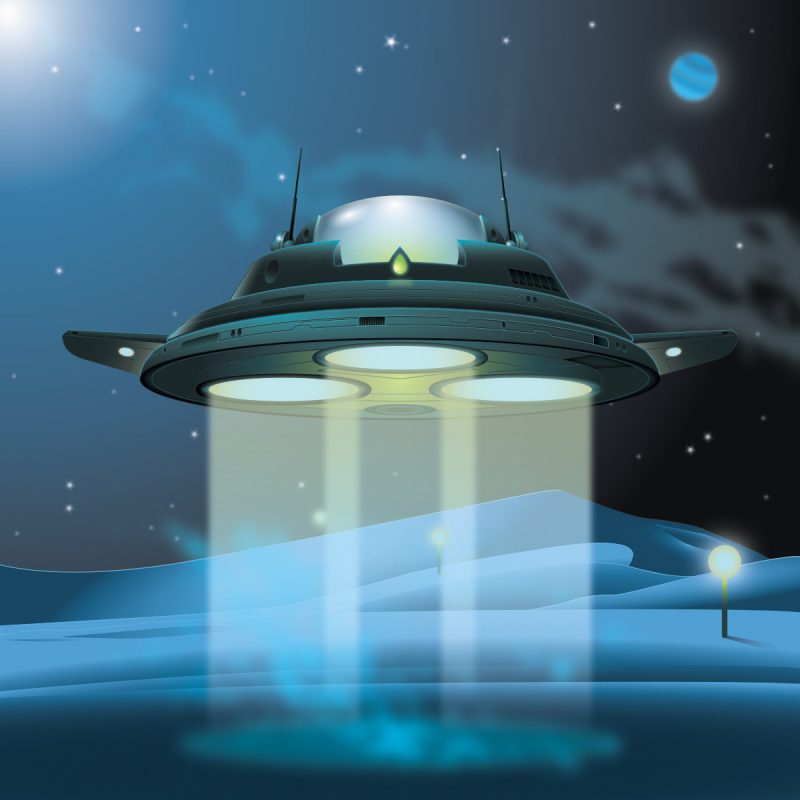
My last drawing, done in Affinity Designer. This time I tried to add more details and to focus on the lights effects.
the illustrations of Fred Lespine
My last drawing, done in Affinity Designer. This time I tried to add more details and to focus on the lights effects.
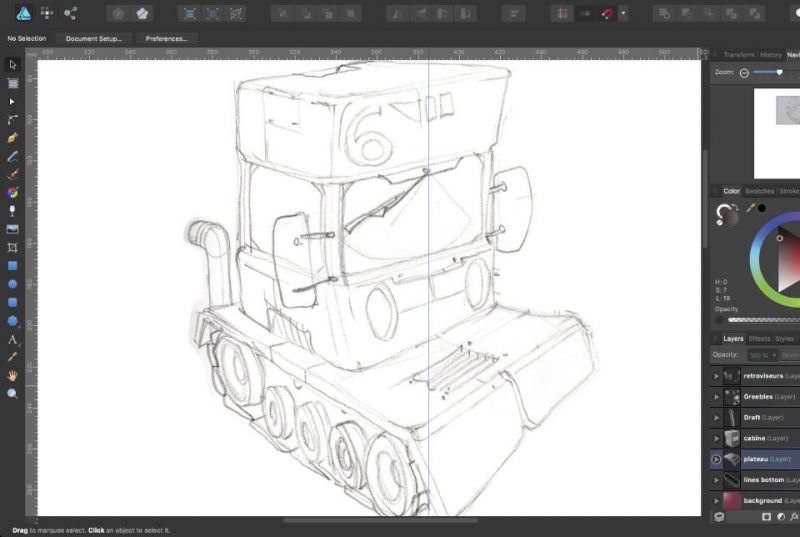
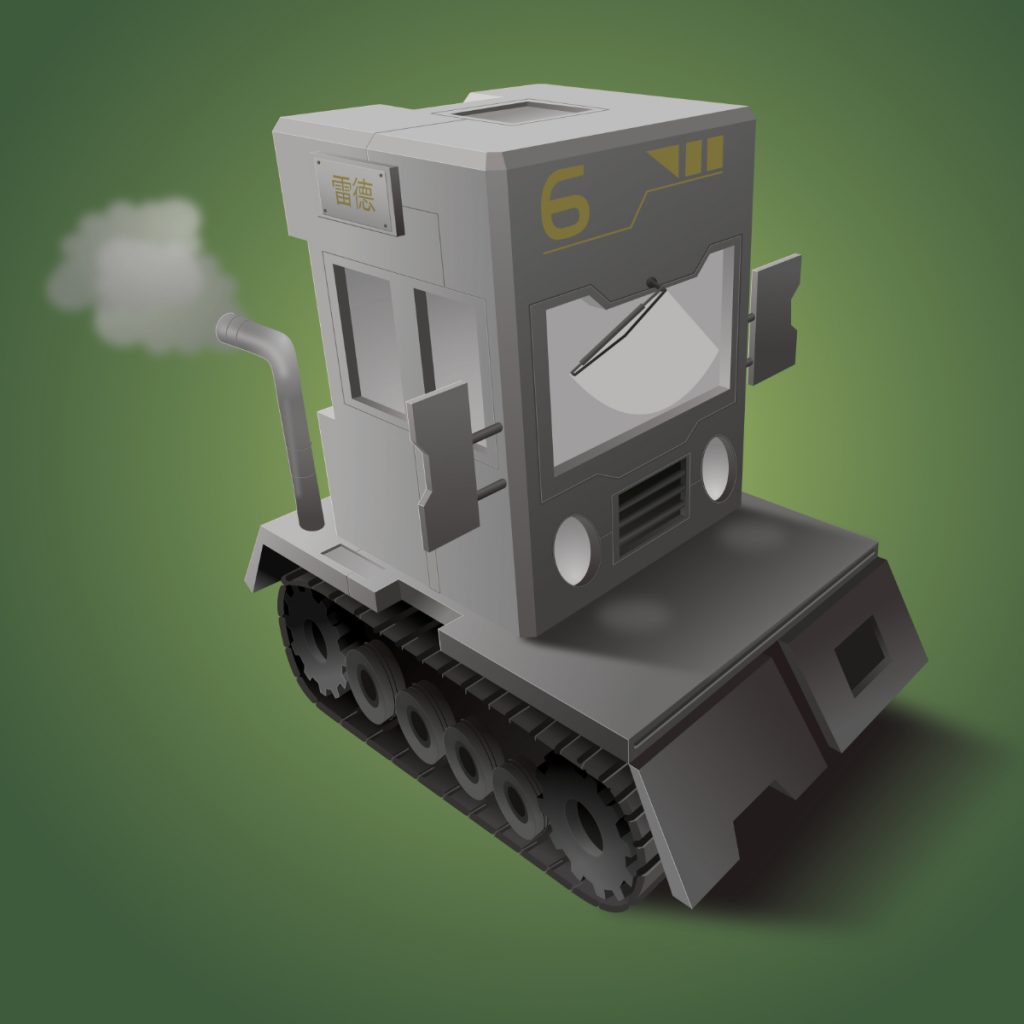
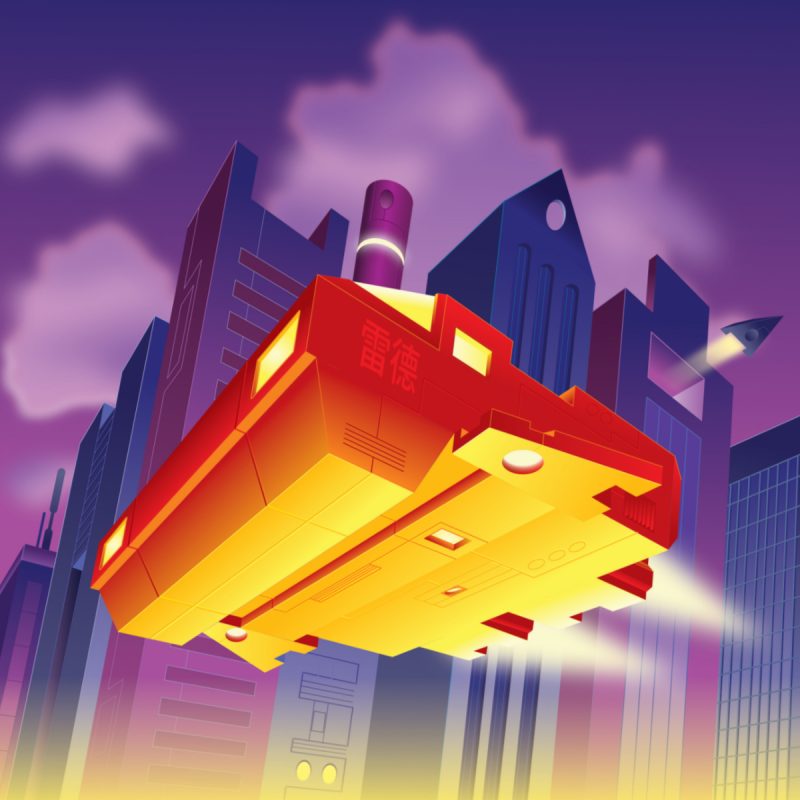
I finally found some free time to have fun, once again drawing a vehicle in Affinity Designer. The process is still the same : hand sketch then vector drawing. This one was a little bit tricky since I used a 3 points perspective.
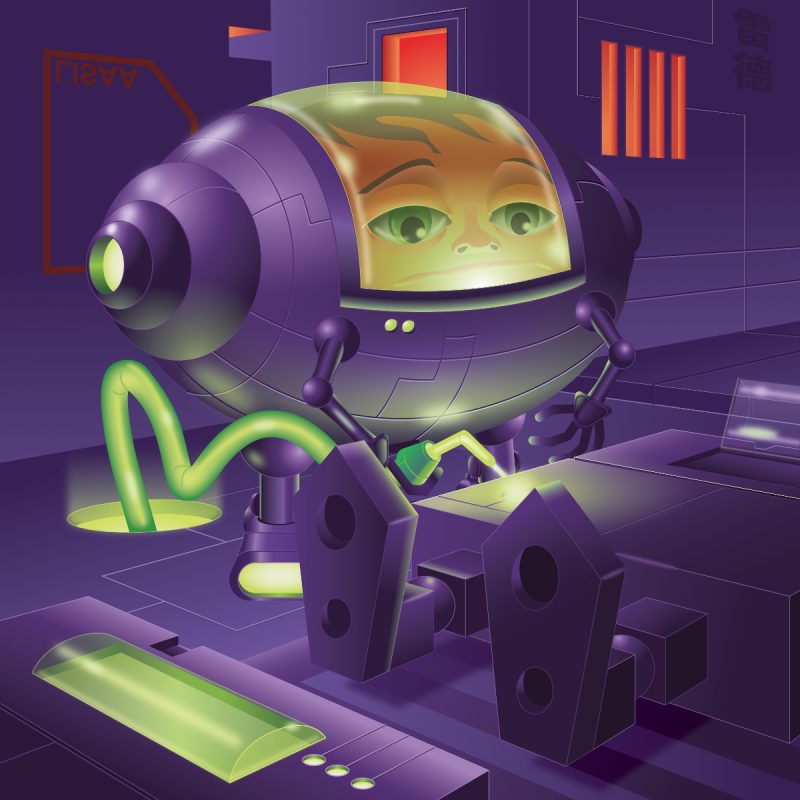
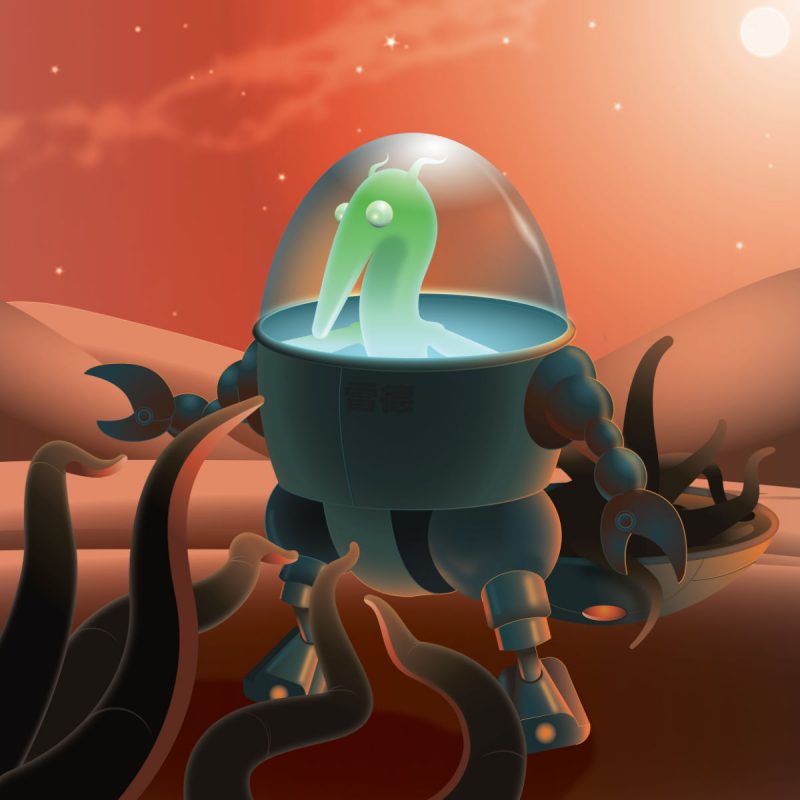
Last work done in Affinity Designer. I tried some organic touch although a vector illustration is not necessarily the most appropriate way to render it.
And yes, I think this guy is harvesting his cousins…
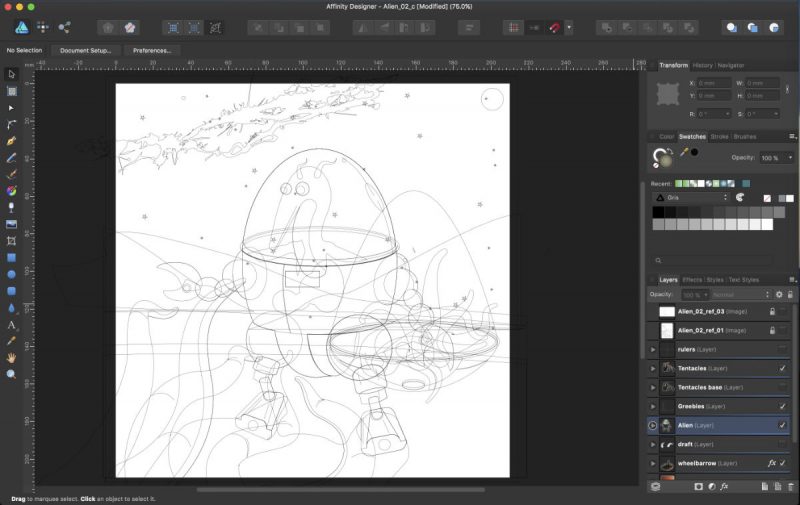
Here’s a mini WIP of my last illustration.
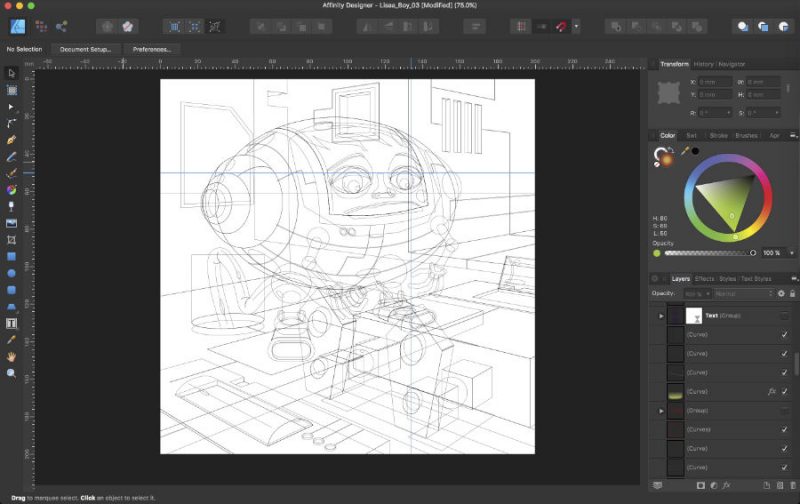
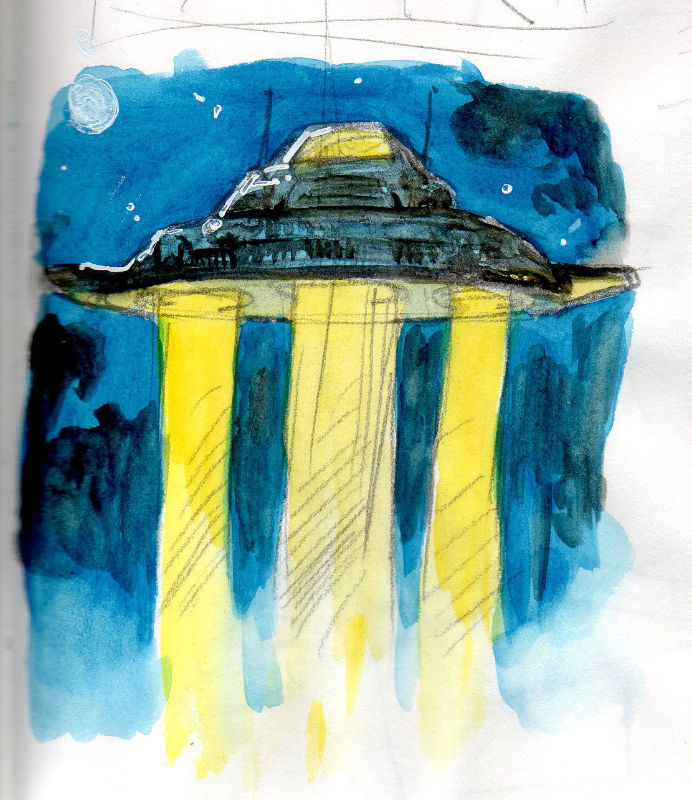
As always, everything started with a rough sketch that gave the global mood.
Then I build the image, using a little exaggerated perspective. I also add some details on the background like the small vehicle flying in the opposite direction of the main one. Since, unfortunately, Affinity Designer doesn’t currently have a warp tool, in order to follow the perspective, the Chinese text has been distorted in Affinity Photo and is rasterized.

Eventually I put the lights and colors on the scene, trying to be a little bit less boring than the initial sketch. The contrast helps to focus on the vehicle.
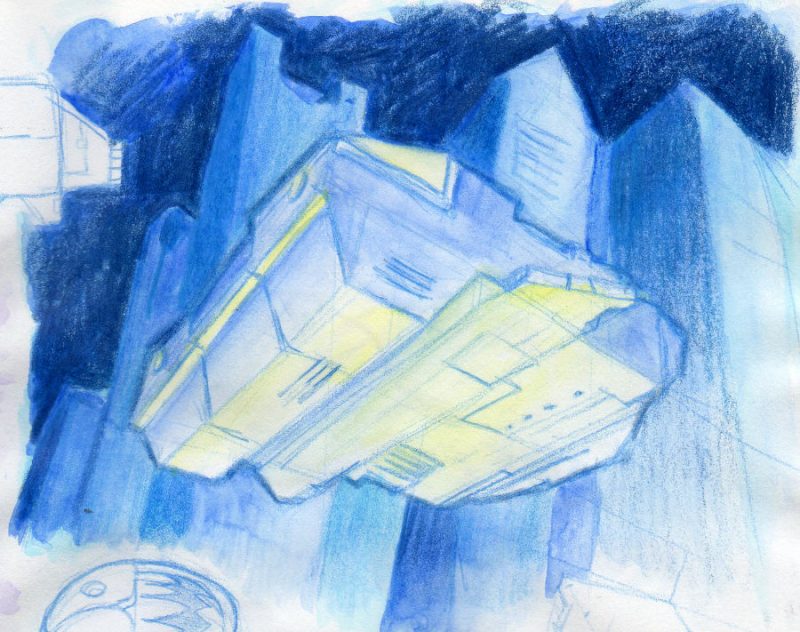
I usually start with different traditional sketches before making my digital illustrations (either vector or raster). I quickly draw the composition, global colors and general mood.
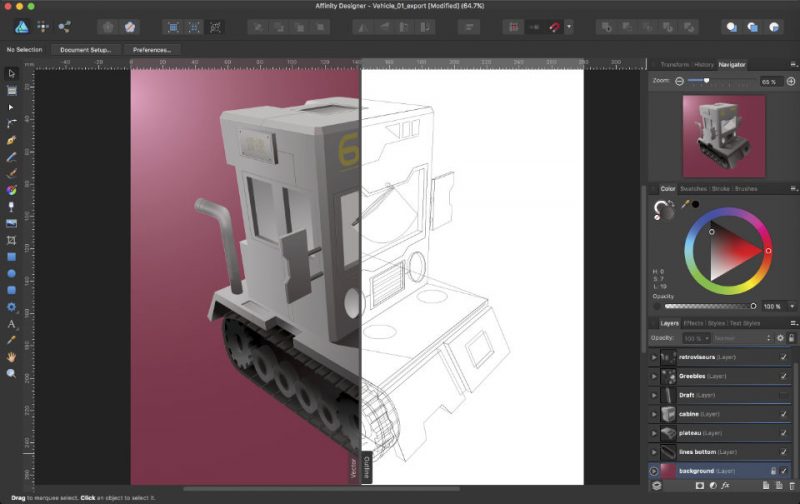
Then it’s time to build a cleaner (and somehow softer) version using Affinity Designer.
The final result :
This mini tutorial shows an adaptation of the “rubber band technique” in perspective for Affinity Designer users. It helps to quickly build a freestyle perspective drawing without too many visible construction lines that can sometimes be confusing.
This technique was used in my “old school” Sci-Fi scenes (e.g. here).